After a Storm Roof Inspection Checklist
After a storm in Corpus Christi, check safety first, then interior, exterior, attic, and documents, in that order, before any repair disturbs evidence.
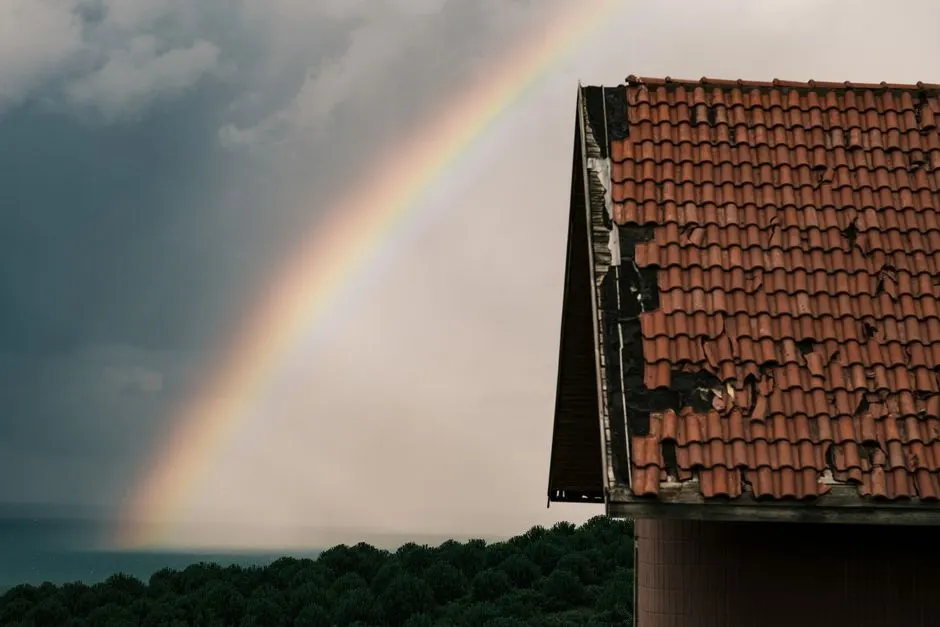
After a storm in Corpus Christi, inspect in this order: safety first, interior second, ground-level exterior third, attic fourth, and documents throughout, before any repair disturbs evidence. That order protects people first, finds hidden damage second, and preserves the claim file third, which is exactly the sequence most post-storm mistakes reverse.
Safety First: Before You Inspect Anything
Do not climb onto a storm-damaged roof. Wet, steep and structurally uncertain surfaces, combined with downed power lines, loose debris and follow-on squalls, make roof-top inspection by homeowners dangerous, and no checklist justifies that risk. Professional inspection exists precisely for this stage, with safety equipment and access training homeowners do not have.
Inside, watch for sagging ceilings, which signal saturated decking or framing that may fail, and keep clear of rooms beneath them until assessed. Check for downed lines around the property before walking the grounds, and treat any standing water near electrical systems as a hazard rather than an inconvenience. Safety is not the first step because it sounds responsible, it is the first step because every other step depends on being unhurt to perform it.
Step 1: Interior Check
Walk every room beneath the roof, looking for ceiling stains, bubbling paint, damp walls and dripping water, and photograph each finding with its room location noted. New stains matter most, but changed old stains matter too, since a previously stable stain that darkens or grows indicates new entry through an old weakness.
Contain active water immediately with buckets, towels and plastic sheeting, and move belongings from beneath leaks. Containment is not repair, and it should never involve puncturing a sagging ceiling without professional guidance, since saturated ceilings can collapse. Note the time each leak is first observed, since timing evidence supports claim narratives later.
Step 2: Ground-Level Exterior Check
From the ground, using binoculars where helpful, scan for missing, lifted or creased shingles, damaged flashing, displaced ridge caps, gutter damage, and debris impacts. Note which slopes face the storm's wind direction, since damage concentrates there, and photograph everything visible, including the absence of damage on undamaged slopes, which also helps carriers judge the claim fairly.
Check the grounds for fallen shingles, flashing pieces and granule piles, since ground debris often reveals damage invisible from below. Do not move debris that marks damage locations before photographing it, and do not attempt ground-level repairs that disturb evidence before documentation is complete.
Step 3: Attic Check
If attic access is safe, inspect decking undersides for fresh stains, damp insulation, daylight through gaps, and displaced or wet framing. Attic evidence often reveals damage invisible from both interior rooms and ground-level exterior views, particularly wind-driven rain entry through flashing that has not yet stained a ceiling.
Photograph attic findings with location notes, and note any pre-existing stains separately from fresh ones, since distinguishing storm effects from aging is exactly what carriers dispute. If attic access feels unsafe, sagging or saturated, skip it and leave it to professional inspection rather than risking injury or further damage.
Step 4: Document Everything
Documentation is a checklist step in its own right, not an afterthought to the others. Assemble dated photos from interior, exterior and attic checks, written notes of times and locations, pre-season photos if they exist, and the roof's prior inspection and repair records. Store copies digitally away from the home, since paper files in a damaged home help nobody.
Write a short, factual storm account while memory is fresh: storm date and time, wind and rain observed, when each leak was first noticed, and what containment steps were taken. Factual accounts written promptly carry far more weight than detailed reconstructions attempted weeks later under claim pressure.
Step 5: Tarp, Claim, and Repair in Order
The correct sequence after documentation is tarp, claim, repair. Emergency tarping and stabilization stop further damage and are expected by carriers, so delaying them to preserve evidence perfectly is a mistake, provided documentation happened first. Notify the carrier promptly with the documentation file, and keep copies of every communication, reference number and adjuster visit note.
Permanent repair follows claim acknowledgement, built to windstorm code with its own photo record, so the restored roof carries a clean documented history into the next storm. Rushing permanent repair before documentation, or delaying tarping to argue about scope, both damage the outcome, which is why order matters as much as action.
Common Mistakes
The most dangerous mistake is climbing onto a storm-damaged roof to look, risking injury for information professionals gather safely. The most expensive mistake is repairing before documenting, destroying the evidence the claim depends on. The third is waiting days to inspect, letting hidden attic moisture become decking rot and letting the claim narrative blur. The fourth is confusing tarping with repair, leaving a tarp as a solution until the next storm removes it along with more roof.
Each mistake is prevented by the checklist order itself: safety, interior, exterior, attic, documents, tarp, claim, repair. Followed in that order, every step protects the next one.
What to Do Next
Start with safety and documentation using this checklist, then move to professional help through Storm Damage and Repair Roofing in Corpus Christi and Roof Inspection in Corpus Christi. For active leaks, the emergency sequence is on Emergency Roof Repair in Corpus Christi, and traced detail fixes are covered on Roof Leak Repair in Corpus Christi. The remaining claim and repair questions are answered in Roofing FAQ in Corpus Christi, but the checklist order above is what protects both roof and claim from the first hour onward.